The process can seem daunting if you’re new to the world of lash extensions. There are so many products and treatments to choose from, and it’s hard to know where to start. But never fear!
This guide will break down everything you need to know about lash extensions, from the different types of treatments and products available to the step-by-step process of applying them.
Applying eyelash extensions is an art form. It requires a steady hand, a good eye, and a lot of practice. But if you’re passionate about making your clients look and feel their best, it’s a job worth learning! In this blog post, we’ll give you a crash course on how to apply for eyelash extensions.
Basic supplies needed for application
Before you start, you’ll need to ensure you have all the supplies you need. You’ll need the following:
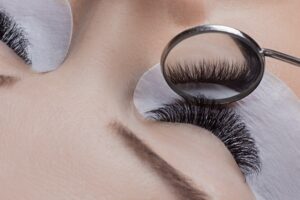
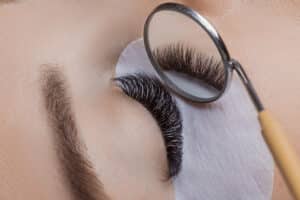
– Eyelash extensions
– Lash cleanser
– Tweezers
– Lash adhesive
– Primer
– Lash brushes
– Under eye pads & tape
Now that you have your supplies let’s get started!
Step one: Prepare the lash line
The first step is to prepare the lash line. This means gently cleansing the lashes and removing any makeup or oils. Use a cotton swab soaked in lash cleanser to remove any debris from the lash line. Once the lashes are clean, use a microfiber towel to dry them off completely.
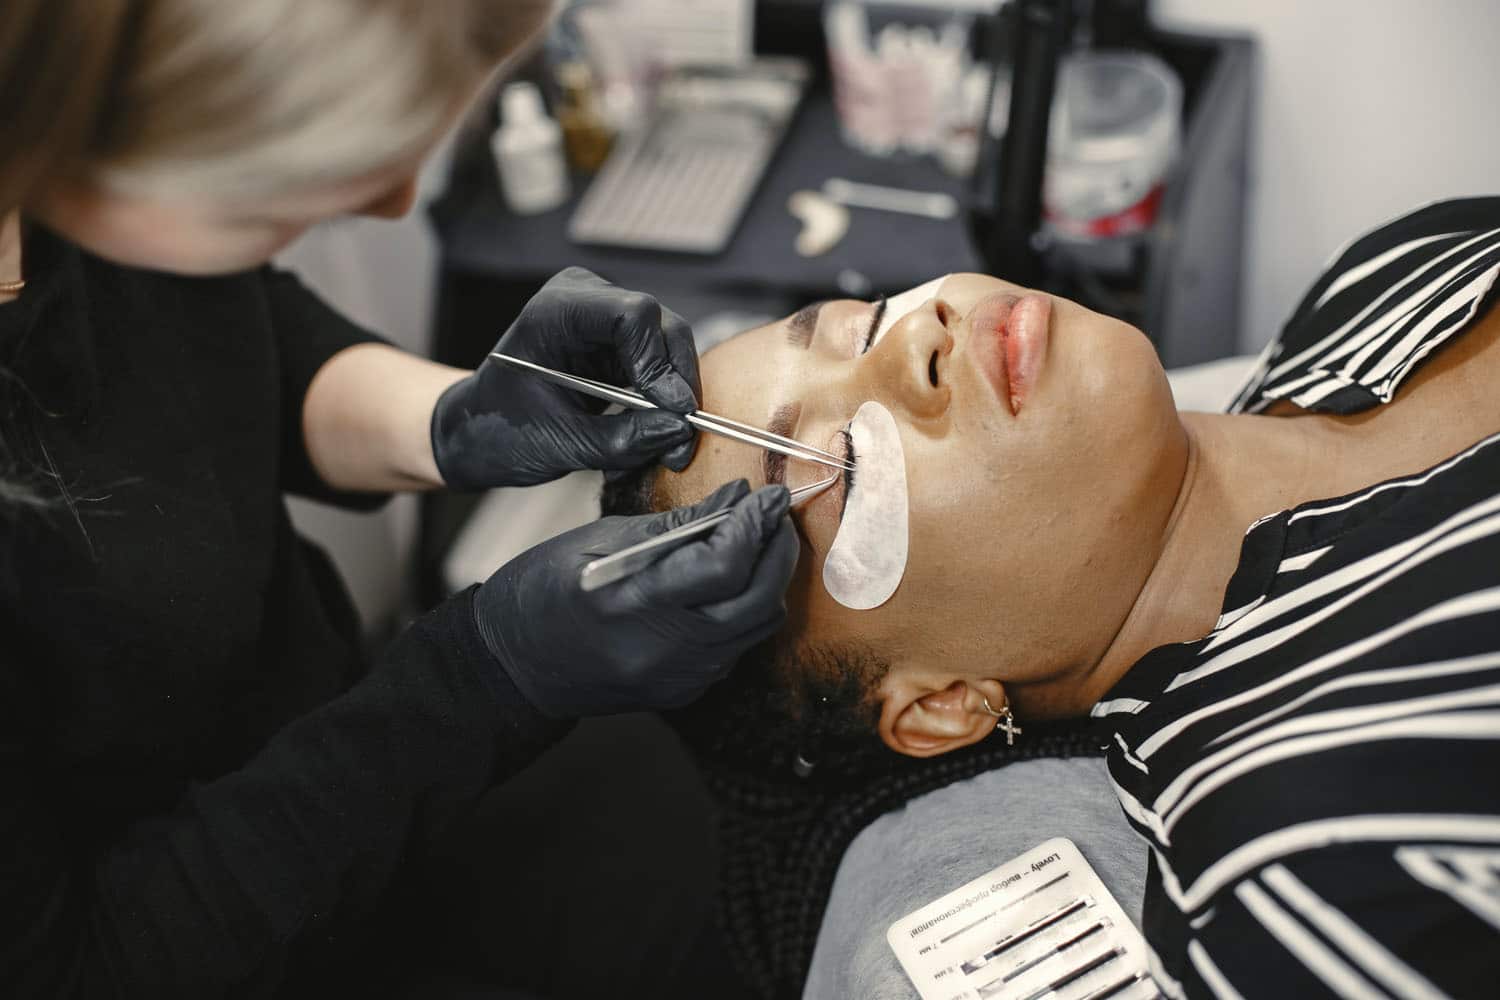
Step two: Apply under-eye pads and tape
Apply undereye gel pads by covering lower lashes and paper tape.
How to apply under-eye pads?
Applying under-eye pads is a simple process, but there are a few things that you need to keep in mind in order to get the best results. Here are a few tips:
1. Ensure the under-eye area is clean and makeup-free before starting. This will help the pads adhere better and prevent any makeup smudging or transferring onto the pads.
2. Choose the right size pad for your client’s eye shape. If the under-eye pad is too small, it won’t do its job correctly. If it’s too big, it will be uncomfortable for your client and may cause irritation.
3. Peel off one side of the gel backing and place the pad on the lower lash line, ensuring that all the lashes are tucked underneath. Gently press down on the pad to secure it in place.
4. Repeat on the other side and proceed with your lash application as usual!
Step three: Styling and mapping
If you’re a lash artist, then you know that one of the most important things to do before starting a Lash extension service is to map out the client’s natural lashes. This will help you determine how many lash extensions to apply and where to place them.
How to map lash extensions
- Start by assessing the natural lashes. You want to take note of the length, thickness, and curl type. This will help you determine which style of lash extension would be best for your client.
- Once you have all your lengths measured out, it’s time to start mapping! Using a fine-tipped marker, draw a small number on the back of each extension corresponding to the size you want it to be placed on the natural lash.
Step Four: Prime the lashes (Optional)
You can choose to prime the lashes before application. Priming helps the adhesive bond better to the natural lash and can help extend the life of your lash extensions. To prime the lashes, simply brush on a thin layer of primer and allow it to dry for 30 seconds before proceeding to step five.
Step five: Apply eyelash extensions
It’s time to start applying for lash extensions! Pick up an extension and dip it in adhesive. Be careful not to use too much adhesive – you want a small amount that will serve as a “glue” between the extension and natural lash. If you accidentally use too much adhesive, simply blot it off with a tissue before moving on.
Step six: Check eyelash extension stickies
Check lash by lash if lashes are not sticking together. f you see any sticking together, use the tweezers to separate them carefully. Once you have checked, use the spoolie brush to brush through the lashes lightly. This will help you to see if any more lashes are sticking together.
Conclusion
That’s it! Those are the basic steps for applying for eyelash extensions. Applying eyelash extensions is a delicate but rewarding process. By following these simple steps, you can achieve beautiful and long-lasting results. Remember, practice makes perfect! The more you do it, the better you’ll become at applying even and beautiful lash extensions.
You may also want to check out these related articles:
How to choose the right lash extension tweezers >>>
How to practice eyelash extensions at home >>>
What are the benefits of private, group and online lash training? >>>
Mastering the volume lashes technique: a guide for beginners >>>